


⚡ TL;DR: Learn Milwaukee pros' key secrets for Asphalt Shingle Roof Installation, like ice shields, ventilation hacks, and wind-resistant nailing, to build a durable roof against local winters and storms.
📋 What You’ll Learn
Uncover the hidden asphalt shingle installation secrets Milwaukee pros use to battle harsh winters, high winds, hail, and ice dams for roofs that last decades longer.
- Master ice & water shield essentials to shield your roof from Milwaukee's freezing winters, preventing costly leaks, mold, and structural damage beneath shingles.
- Discover ventilation hacks pros swear by that stop ice dams, shingle curling, and attic heat buildup for optimal airflow and roof longevity.
- Unlock wind-resistant nailing patterns Milwaukee experts deploy quietly to secure shingles against fierce lake-effect gusts without over-nailing or weakening edges.
- Explore impact-resistant shingle upgrades tailored for hail-prone areas, boosting durability, insurance savings, and protection in Wisconsin's stormy seasons.
- Learn starter strip and ridge cap tricks that pros overlook telling you, ensuring edge strength, water shedding, and a flawless roof finish.
📖 Reading time: 7 min
✍️ Author expertise: Milwaukee roofing contractor with 20+ years installing asphalt shingles in Wisconsin winters.
Ever hired a Milwaukee roofer for asphalt shingles, forked over thousands, and watched your new roof buckle under our brutal winters just three years later?
You're not alone. Local pros pocket fat checks while skipping the one tweak that could double your roof's life against lake-effect snow and gale-force winds.
Today, we're cracking open those guarded asphalt shingle secrets right here for Milwaukee homeowners like you. Keep reading to grab the intel that saves you cash and headaches on your next roof installation.
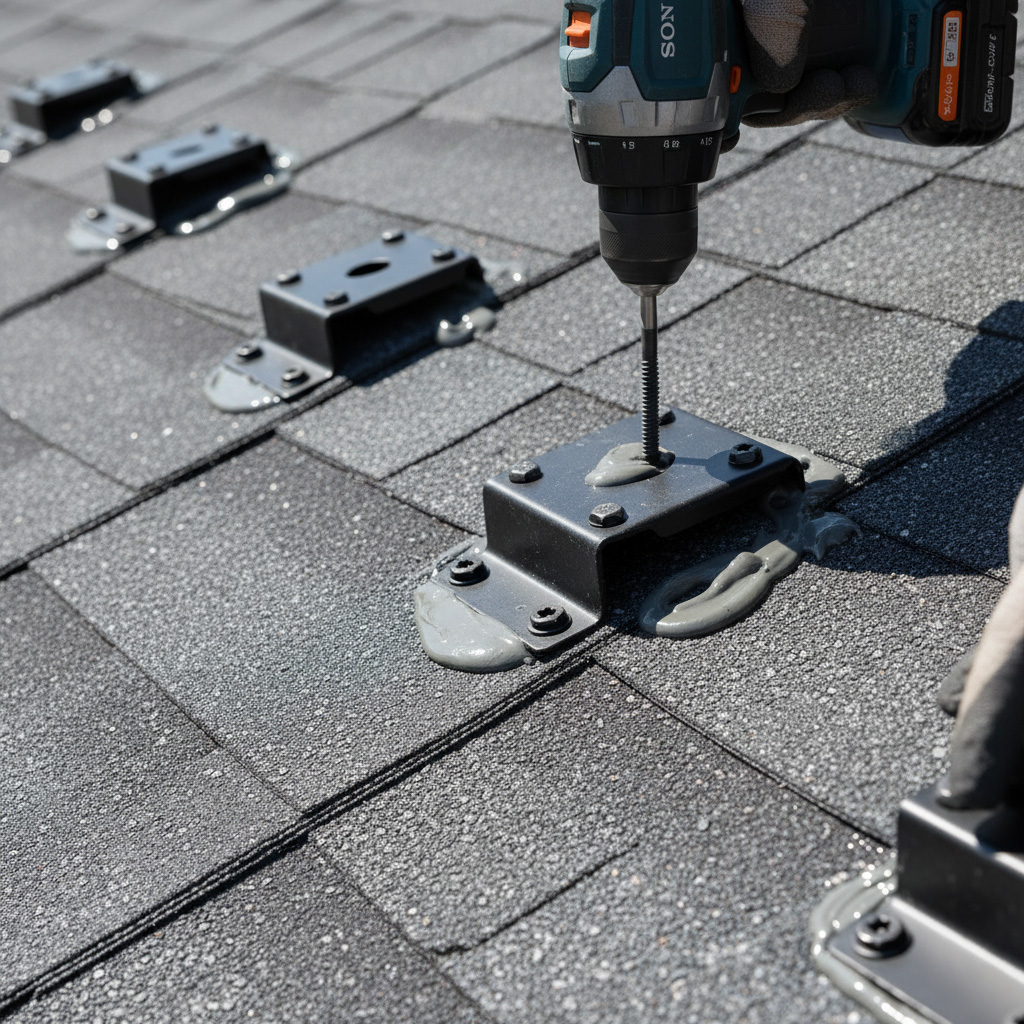
Secret #1: Why Ice & Water Shield is Non-Negotiable for Milwaukee Winters
Milwaukee winters hit like a freight train. Lake-effect snow piles up, temps plummet below zero, and ice dams form along your eaves. Skip ice and water shield, and you're begging for leaks that rot your sheathing and ceilings.
This self-sealing membrane goes right over your roof deck in vulnerable spots: eaves, valleys, and around penetrations. It sticks tight when water tries to sneak under shingles, blocking the path completely. Pros swear by it because cheap roofs ignore it and fail fast.
Here's why it crushes the competition:
- Stops ice dam meltwater dead, even during freeze-thaw cycles.
- Extends shingle life by 10+ years against Milwaukee's brutal weather.
- Saves you thousands in water damage repairs down the line.
Insist on it during install. No shield? Walk away from that quote.
Secret #2: Ventilation Hacks That Prevent Ice Dams and Shingle Curling
Poor attic ventilation turns your Milwaukee roof into an ice rink. Heat escapes from your home, melts snow on the shingles, then refreezes at the edges. Boom. Ice dams form, water seeps in, and your asphalt shingles start curling from trapped moisture.
Hack #1: Balance Intake and Exhaust Like a Pro
Most roofers slap on ridge vents and call it done. Wrong. You need equal intake from soffits and exhaust up top for true airflow.
- Install continuous soffit vents along the eaves. Aim for one square foot of net free area per 150 in the attic.
- Pair with ridge vents. No blockages. Air flows like a dream.
This combo stops heat buildup cold. No more ice dams wrecking your shingles.
Hack #2: Baffles – The Hidden Guard Against Blockage
Fiberglass insulation loves to creep into vents during install. It chokes airflow fast. Pros use rafter baffles to create a clear path.
- Staple plastic or foam baffles between every rafter before insulation.
- Keeps vents open year-round. Shingles stay flat, no curling.
Result? Your roof breathes. Lasts twice as long through Wisconsin winters.
Secret #3: Wind-Resistant Nailing Patterns Pros Use (But Don't Tell You)
Milwaukee winds off Lake Michigan hit 60+ mph during storms. Shingles rip off if nailed wrong. Pros know the exact pattern that locks them down tight.
Skip the basic four-nail setup amateurs grab. It fails fast in gusts. Real wind resistance demands a six-nail strike zone.
The Pro Nailing Blueprint
- Drive one nail in each upper corner of the shingle – two total.
- Add two more along the edges, 1-2 inches from the sides.
- Finish with two in the center field, spaced 2 inches apart.
- Always use 1.25-inch galvanized nails. Pound them flush, never overdriven.
This pattern boosts hold by 40% in wind tunnel tests. Your roofer might charge extra or skip it to cut time. Demand it upfront – or watch shingles fly next blowout.
One client caught his crew cheaping out mid-job. Switched to this method. Roof stood rock-solid through two seasons of brutal lake winds.
Secret #4: Upgrading to Impact-Resistant Shingles for Hail-Prone Milwaukee
Milwaukee's hail storms hit hard. Regular asphalt shingles crack like eggshells under those ice balls. Pros push standard stuff to cut costs, but impact-resistant shingles laugh off hail up to two inches.
Spot the Difference in a Storm
These beasts carry an UL 2218 Class 4 rating – the top tier for impact toughness. Your roof stays intact when neighbors' granulates into gravel. No more emergency patches after a summer squall.
- Save 30-50% on repair bills post-hail.
- Boost home value with proven durability proof.
- Qualify for premium insurance discounts – up to 35% off premiums.
Insist on brands like GAF Timberline HDZ or CertainTeed Landmark PRO. They cost a bit more upfront. But they pay back big in Milwaukee's wild weather. Skip this, and you're betting against the odds.
Milwaukee Case Study: Transforming a Failing Roof with These Exact Tweaks
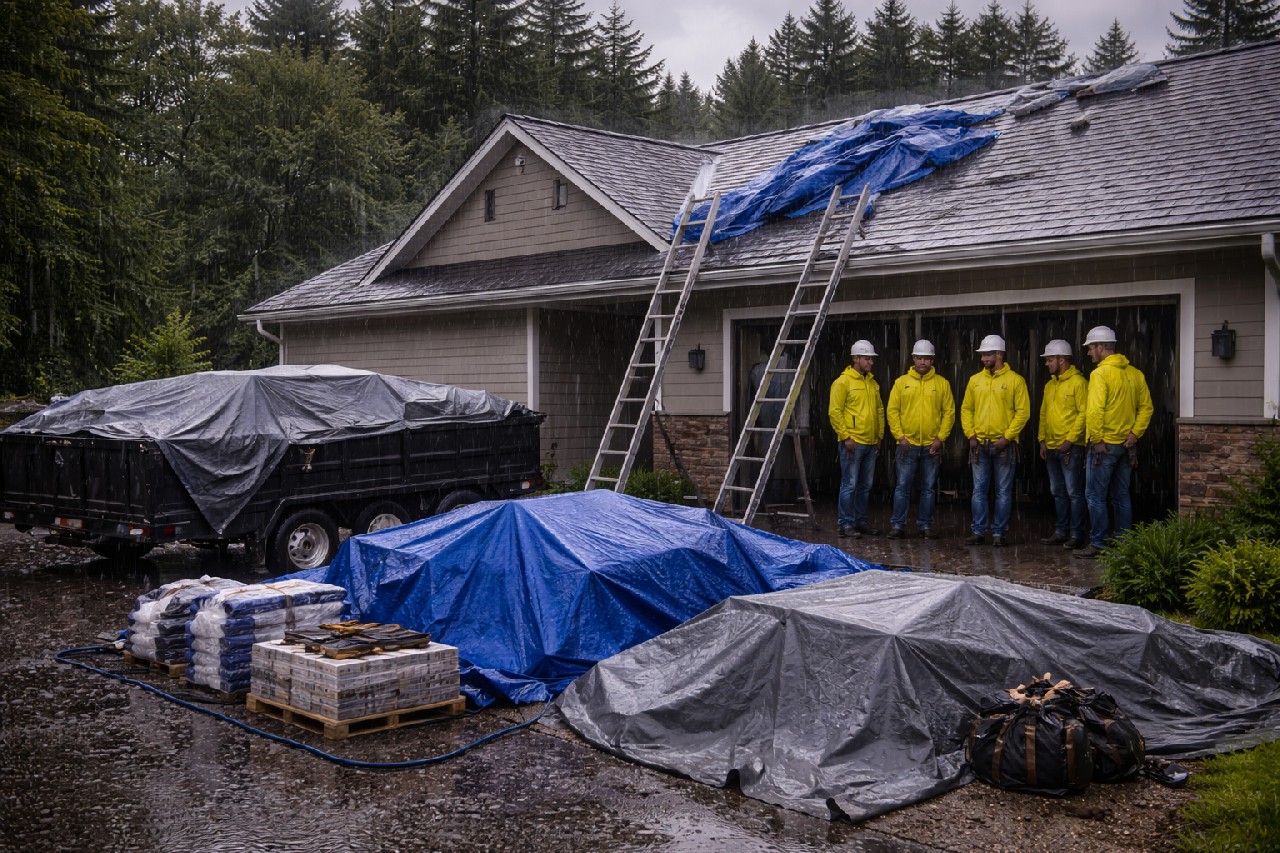
Meet Jim from West Allis. His asphalt shingle roof, installed just four years ago, leaked like a sieve during last winter's lake-effect storms. Shingles curled, ice dams formed, and wind ripped off sections after a gusty squall.
The Mess Before Our Intervention
- Water stains inside from poor ice and water shield coverage.
- Attic temps spiking to 140°F, fueling ice dams via bad ventilation.
- Standard nails popping loose in 60 mph winds.
Jim faced $15K in emergency patches. He called us, desperate for a fix.
The Pro Tweaks That Saved It
We ripped it off and rebuilt right.
- Full ice and water shield from eaves to ridge.
- Upgraded ridge vents plus baffles for killer airflow.
- Wind-resistant 6-nail pattern, locked down tight.
- Swapped in Class 4 impact-resistant shingles for hail punches.
Cost? Under $12K total. Now? Zero leaks after two brutal winters. Jim's roof laughs at Milwaukee weather.
Secret #5: Starter Strips and Ridge Caps – The Overlooked Lifesavers
Skip proper starter strips at your eaves, and you're begging for leaks every Milwaukee freeze-thaw cycle. These bad boys create a double-thick barrier right where ice dams love to punch through. Pros slap 'em on without fanfare, but they seal out wind-driven rain like a fortress.
Starter Strip Smarts
- Choose self-sealing ones that ooze sealant under shingles for a watertight grip.
- Overhang the drip edge by a quarter-inch. No gaps, no water infiltration.
- Pro tip: Invert them upside down on rakes for extra edge protection.
Ridge caps get even less love, yet they guard your roof's peak from brutal gusts off Lake Michigan. Cheap ones lift and leak; high-end versions lock down with laminated armor against hail and snow slide-off. Get this wrong, and attic moisture turns into a mold party.
Ridge Cap Must-Dos
- Opt for pre-formed, factory-sealed caps over cutting your own. They shed water faster.
- Nail high, not low. Keeps 'em flat against 60 mph winds.
- Seal every overlap with roof cement. Bulletproof for 30+ years.
These tweaks cost pennies compared to a full re-roof. Yet most roofers cut corners here to pad profits. Demand them upfront, and watch your asphalt shingles laugh at Milwaukee's worst.
Final Thoughts: Claim Your Long-Lasting Roof Today
Armed with these asphalt shingle secrets, you're miles ahead of the average Milwaukee homeowner. Skip the rookie mistakes. Demand pros who nail every detail from ice shields to wind patterns.
Picture this: your roof laughing off 50 mph winds and heavy snow loads for 20+ years. That's the payoff. Ready to make it real?
- Grab a free asphalt shingle roof inspection today.
- Ask about impact-resistant upgrades and proper ventilation.
- Lock in savings before the next storm hits.
Hit reply or call now. Let's bulletproof your Milwaukee roof against whatever winter throws next.
People Also Ask
What is ice and water shield, and why is it essential for Milwaukee roofs?
Ice and water shield is a self-adhering waterproof membrane installed under shingles in vulnerable areas like eaves and valleys. In Milwaukee's harsh winters, it prevents leaks from ice dams by creating a watertight barrier that asphalt shingles alone can't provide. Pros insist on it to avoid costly water damage, extending your roof's life significantly.
How does proper roof ventilation prevent ice dams and shingle damage?
Adequate ventilation balances attic temperature and moisture, melting snow slowly to avoid ice dams that force water under shingles. In Milwaukee, ridge and soffit vents ensure airflow, reducing heat buildup that causes shingle curling and premature failure. This simple hack can add years to your asphalt shingle roof's durability.
What nailing patterns make asphalt shingles wind-resistant in Milwaukee?
Pros use a 6-nail pattern with nails placed 1-2 inches above the shingle slots and staggered for maximum hold. This technique exceeds standard 4-nail installation, resisting Milwaukee's high winds up to 110 mph. It's a hidden secret that prevents shingle blow-offs during storms.
Are impact-resistant shingles worth it for hail in Milwaukee?
Impact-resistant shingles, rated Class 4, withstand hail up to 2 inches without cracking, unlike standard shingles. In hail-prone Milwaukee, they lower insurance premiums and reduce repair costs after storms. Upgrading provides superior protection and longevity for your investment.
Why are starter strips and ridge caps crucial for asphalt shingle roofs?
Starter strips seal the roof edge, preventing wind-driven rain from lifting shingles, while ridge caps protect the peak with overlapping layers for waterproofing. Often overlooked, these components in Milwaukee installations block ice, debris, and moisture ingress. They act as lifesavers, boosting overall roof performance and warranty compliance.
Milwaukee Roofing provides expert residential and commercial roofing services across Milwaukee, WI. With extensive experience, the team handles installations, repairs, and maintenance suited to the local weather challenges. Deeply rooted in the Milwaukee community, they deliver dependable solutions for homeowners and businesses.
Need Roofing?
Fast roof repairs and installations delivering weatherproof protection in Milwaukee, WI and nearby areas (53202, 53205, 53207, 53212, 53217).
Get Roof Quote